01 / Video
Raw phone clips, interviews, property tours, screen recordings, and B-roll. Send the original files, with sound.
MP4 · MOV · M4V · WEBM your favorite marketing department
Send us the raw moments. We’ll take it from here.
Create a free account before uploading. You’ll be able to find and download your footage anytime.
Create an account to upload ↗Already have an account? Sign in
Here’s what to send and how to capture it. No fancy camera required.
Raw phone clips, interviews, property tours, screen recordings, and B-roll. Send the original files, with sound.
MP4 · MOV · M4V · WEBMProperty photos, headshots, logos, and graphics. Choose the full-resolution version whenever possible.
JPG / JPEG · PNG · HEIC · WEBPVoiceovers, interview recordings, and music you have permission to use. Separate audio tracks are welcome.
WAV · MP3 · M4A · AACYou can also include a PDF brief or ZIP folder with supporting assets. Keep each file under 2 GB, give your project a clear name, and use the notes box for deadlines, reference links, or special requests. These are examples of useful formats; playback and editing compatibility can vary.
Our suggested starting point: standard Video mode, 4K at 30 fps if available. 1080p at 30 fps is a great alternative for smaller files.
Film vertically for Reels, Stories, and other full-screen social posts. Use landscape for wide-format videos. If you’re unsure, tell us where the video will be used before filming.
Wipe the lens with a soft cloth. Face a window or soft light source, and avoid a bright window directly behind you.
Use a tripod or hold your phone with both hands. Keep the camera around eye level for talking clips. Move slowly and avoid pinching to zoom; move closer when practical.
Choose a quiet space, switch off nearby noise, and stay close to the microphone. Use an external mic if you have one. Record a short test and listen back before the full take.
Tap your subject before recording to set focus. Check that faces look clear and aren’t too bright. Use standard Video mode unless we’ve discussed a special effect.
Pause for a few seconds before speaking and after you finish. Capture a few extra angles and detail shots. Send original clips without filters, captions, or added music.
Upload directly from your phone’s photo library or original files. Messaging and social apps may reduce quality. If you’re sharing cloud files, download the originals before adding them here.
Split it into smaller clips using a tool that preserves quality, or ask the marketing department about another transfer method. Keep the original full-quality file.
Camera setting help: iPhone guide · Google Pixel guide
Ready? Back to your upload ↑Pick a question. Get a few practical steps. Go create.
Open Settings → Camera. Options vary by model and iOS version.
Use standard Video mode. Skip filters, Cinematic mode, ProRes and Log unless we request them. Before each take, check that the camera still shows 4K and 30.
Android camera options depend on your phone. In the Camera app, choose Video → 4K / UHD → 30 fps where supported. For this workflow, turn video HDR / HDR10+ off if available, use standard stabilization, and skip beauty filters and cinematic blur.
Common examples:
Other models differ, and video modes can limit available options. Zoom buttons do not necessarily represent separate physical lenses. You do not need every lens to create great footage.
Choose a lens before each clip. Record a wide view, a natural view and a detail view instead of repeatedly zooming during one take.
Not every iPhone has all these options, and Android models vary. Avoid extreme digital zoom. Use the main 1× camera when light is limited.
Record each clip for about 8–12 seconds, holding still briefly at the start and end. Use one slow movement per clip.
Clean your lens, hold the phone with both hands and avoid fast pans. Film vertically for Reels, Stories and TikTok unless the project calls for horizontal video.
Before recording, open blinds, turn on lights, straighten furniture, close toilet lids and clear distracting clutter. Check mirrors for your reflection and remove personal information from view.
Plan a simple route through the home. Show spaces honestly and give us multiple angles to choose from.
Face a window or soft light source instead of standing with a bright window behind you. Keep the phone near eye level and use a quiet location.
Try: introduce the home → highlight what makes it special → invite viewers to learn more.
Send the original video clips, including extra takes. Upload directly from your phone instead of texting or posting the clips first.
Include photos, audio and other relevant project assets. In your notes, include the property address, features to highlight, intended video style, preferred orientation and any important instructions. Keep each file within the upload form’s displayed size limit.
Create an account or sign in first. Keep the upload tab open until the transfer is confirmed. Your submitted projects are available in My footage.
Your phone is enough to get started. A microphone helps with talking videos; the other tools below are optional.
Our preferred mic option. Choose the kit and phone connector that match your setup.
Another compact wireless option. Check the receiver, adapter, and phone compatibility before buying.
Compact tabletop and handheld option; check magnetic phone or case compatibility.
An extendable phone tripod and grip option for portable filming.
A full-height tripod option for standing introductions and stationary talking videos. Check the included phone holder.
For stationary filming on suitable clean glass. Requires compatible O-LOCK phone hardware; it is not a universal MagSafe mount.
MagSafe-compatible phone attachment with accessory and tripod mounting options. A suitable tripod or support is separate.
A dual-handle phone cage for handheld filming and adding accessories. This is model-specific: choose the correct iPhone 17 Pro or Pro Max version on the product page before buying.
Optional motorized stabilization for moving shots. Helpful for some setups, but not required for submitting good footage. Check phone size and weight compatibility.
A compact flying-camera option for exterior content. Check local availability and operating requirements.
A hands-free flying-camera option. Compare its shooting modes and recording specifications with your project needs.
Before buying, check your phone model, connector, case, mounting accessories, and the seller’s current availability. Record a short test to confirm an external microphone is capturing your voice. Product links are examples, not a requirement to purchase.
A little about the people bringing your stories to life.
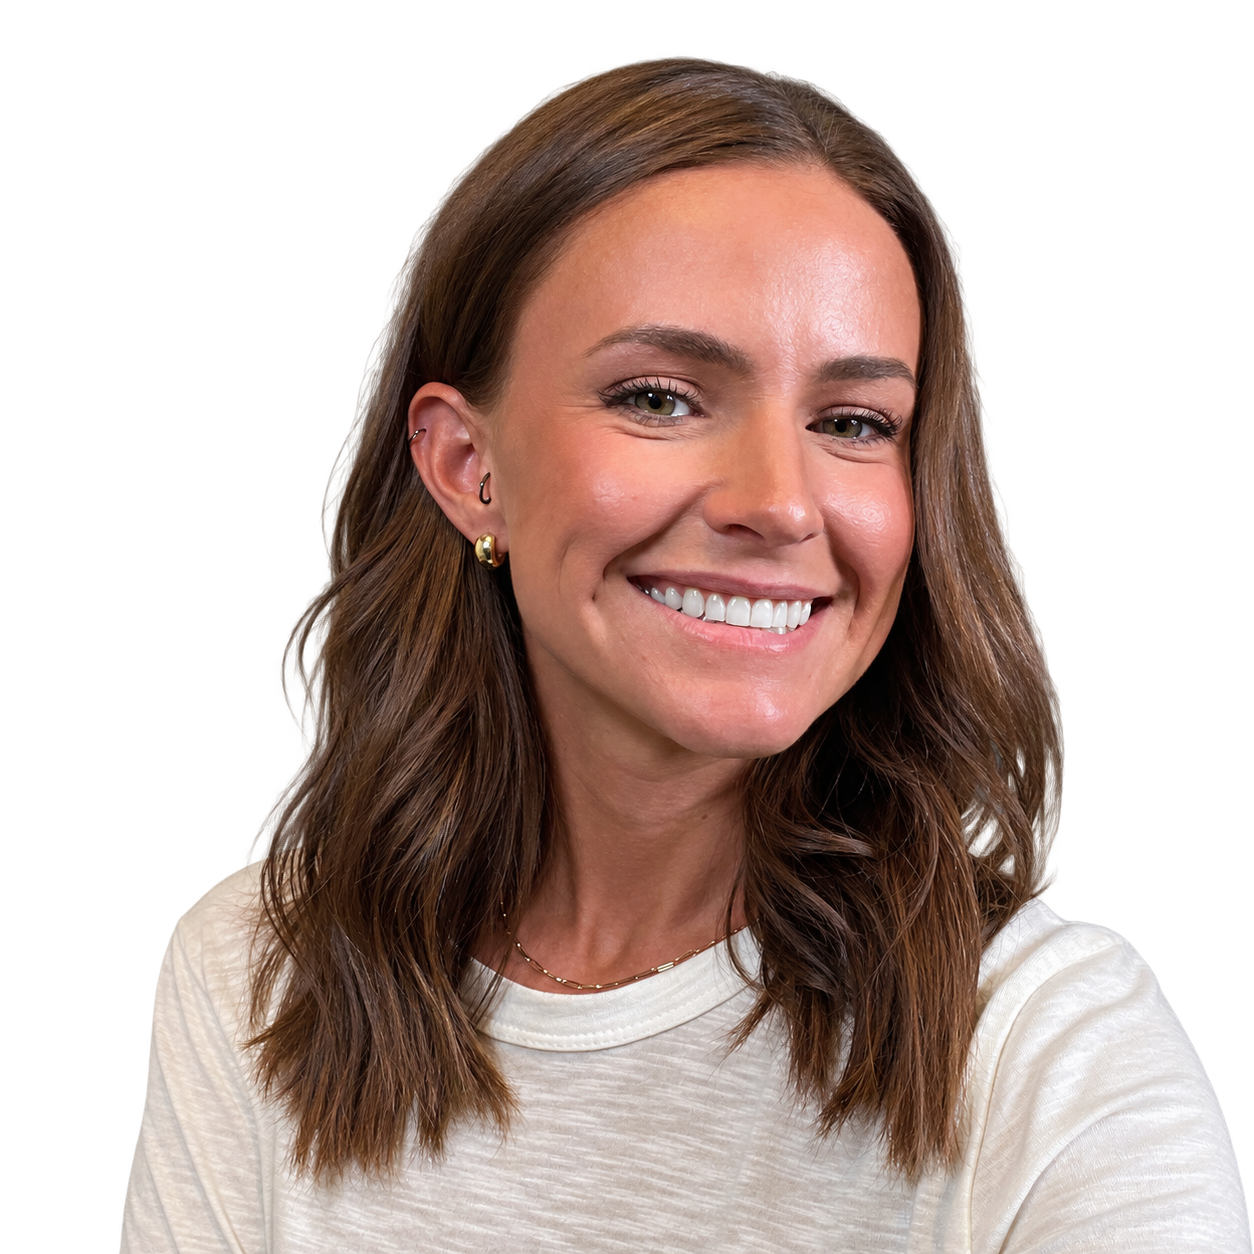
Marketing Director, Content & AI Specialist
Originally from St. Louis, I moved to Springfield in 2012 to attend Missouri State University, where I competed on the Division I swim team, specializing in freestyle events.
After earning my marketing degree, I joined Gershman as an intern. That opportunity grew into a full-time career—and ten years later, here we are.
Everything I do in video has been learned on the job through practice, curiosity, and trying something new. I love that there’s always another skill to learn and another creative direction to explore.
My favorite part? Shooting video with clients and helping them capture their story, their voice, and what they love about what they do.
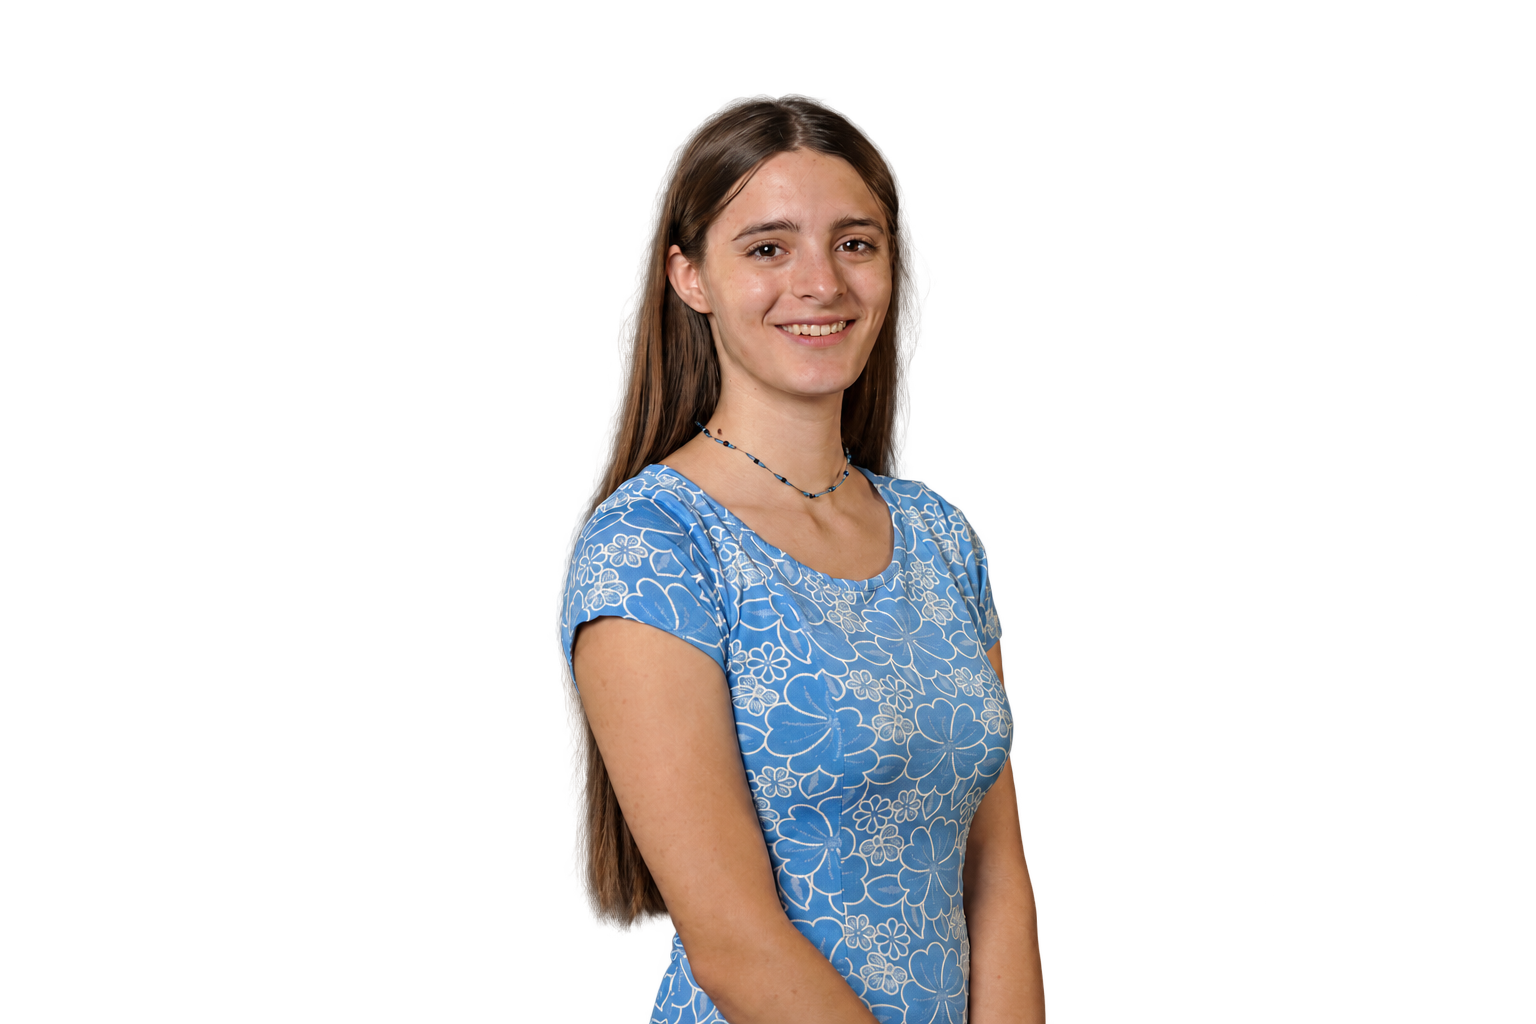
Marketing Coordinator, AI Video Editor & Specialist
Born and raised in Springfield, MO, I attended Missouri State University to earn my degree in Electronic Arts. I specialized in animation, and carry what I learned into my position here at Gershman Mortgage.
After teaching the Adobe Suite at Missouri State for a semester, I joined Kate to help produce videos and marketing materials for our own loan officers and real estate professionals all over Southwest Missouri.
I love video editing, but this position has also given me the opportunity to learn all about the mortgage world, talk to lovely people every day, and experience all steps of the production process to deliver content that truly represents our partners.
Create an account to keep every project in one place.
Every project you’ve shared. Right where you left it.
Client submissions, ready for the edit.